Hey there, guitar enthusiasts! With home studios booming and remote collaborations becoming the norm, achieving crystal clear guitar recordings has never been more important.
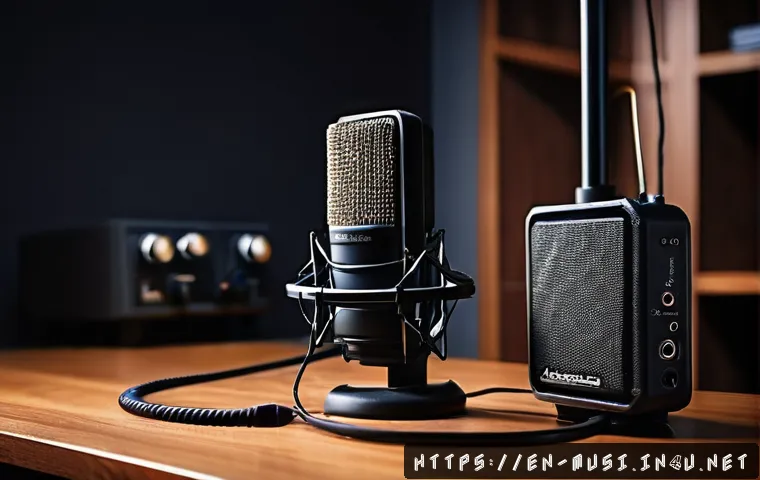
Whether you’re laying down tracks for your next hit or just jamming for fun, having the right gear can make all the difference. I’ve spent countless hours experimenting with various equipment, and trust me, the right setup elevates your sound from good to professional-grade.
Let’s dive into the essential guitar recording gear that every musician should know about to capture that perfect tone every time. Stick around—you won’t want to miss these game-changing tips!
Choosing the Right Microphone for Your Guitar Sound
Dynamic vs. Condenser Mics: What Works Best?
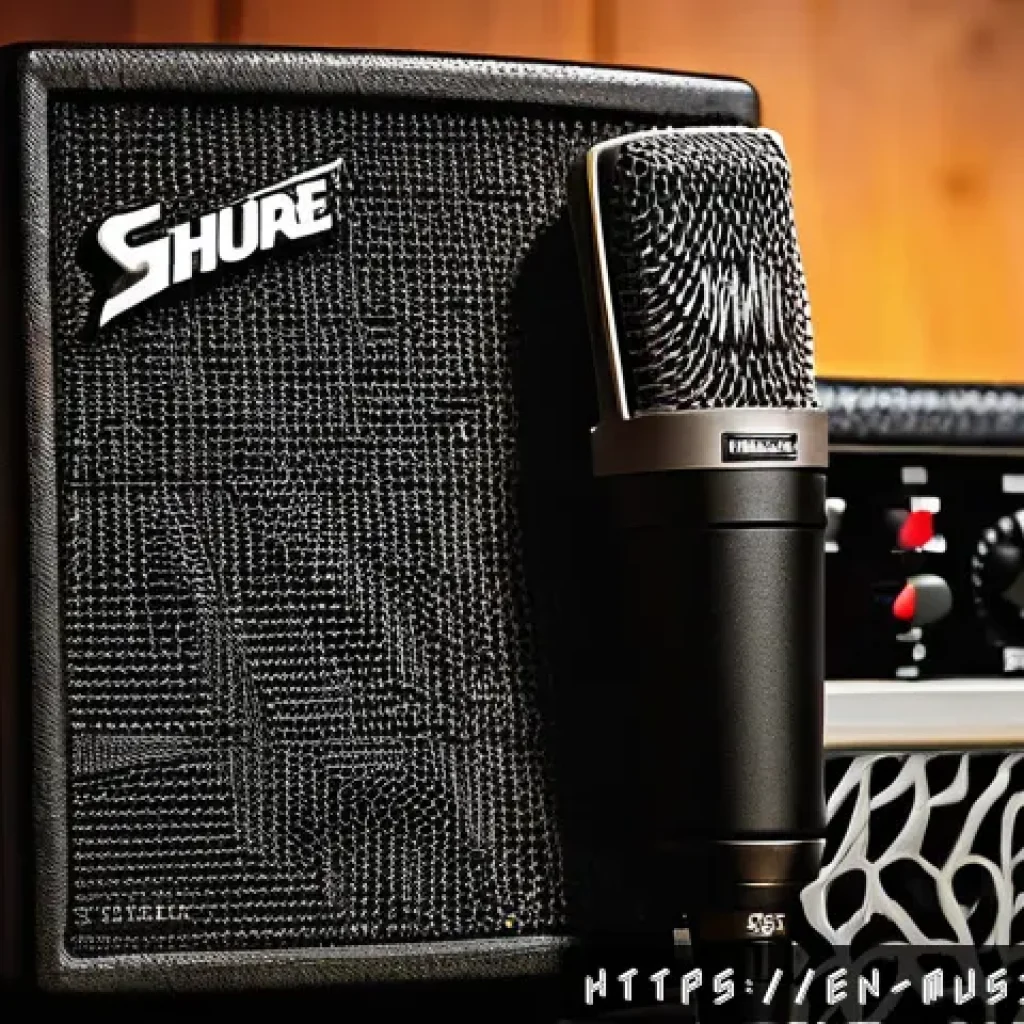
When I first started recording guitar at home, I was confused about which microphone to pick. Dynamic mics like the Shure SM57 are legendary for guitar amps because they handle high SPLs (sound pressure levels) without distortion and capture a warm, punchy tone.
On the other hand, condenser microphones tend to have a wider frequency response and more sensitivity, which can be great for capturing acoustic guitars or the subtle nuances of an electric guitar’s clean tones.
In my experience, using a dynamic mic close to the amp’s speaker cone gives you that classic rock or blues vibe, while condenser mics, placed a bit further away, add air and brightness that can really make your track shine.
Placement Tips for Optimal Tone
Mic placement is an art form in itself. I’ve spent hours moving my mic just a few inches in front of my amp to discover how it changes the tone dramatically.
Placing the mic right in the center of the speaker cone tends to capture a brighter, more aggressive sound, while moving it toward the edge of the cone produces a warmer, mellower tone.
For acoustic guitars, placing a condenser mic about 6 to 12 inches from where the neck meets the body usually delivers a balanced sound with both warmth and clarity.
Don’t be afraid to experiment with angles and distances—sometimes the best tone comes from an unexpected spot.
Essential Mic Preamps for That Extra Punch
A good preamp can transform a decent microphone signal into something truly professional. I started with the basic preamps built into my audio interface, but upgrading to a dedicated preamp made a world of difference.
Tube preamps add a subtle warmth and harmonic richness that can make your guitar tracks sound fuller and more alive. Solid-state preamps, meanwhile, offer clean, transparent gain, which works great for preserving the natural tone of your instrument.
If you want to add character, some preamps come with variable impedance and saturation controls, giving you more creative options during tracking.
Audio Interfaces That Enhance Your Workflow
Latency Matters: Picking the Right Interface
Latency can be a dealbreaker when recording guitar, especially if you like to monitor yourself while playing. I learned this the hard way when my first interface had a noticeable delay, making it hard to stay in time.
Nowadays, I always look for interfaces with low-latency drivers and direct monitoring features. This lets me hear my playing in real time without any distracting lag, which is crucial for nailing tight performances.
USB interfaces like the Focusrite Scarlett series or Universal Audio’s Apollo Twin are excellent choices, offering a great balance of quality and affordability.
Input and Output Options for Versatility
Having multiple inputs and outputs is essential if you want to expand your setup or record multiple sources simultaneously. For solo guitarists, a single high-quality input might suffice, but if you plan to layer guitars, vocals, or other instruments, consider interfaces with 4 or more inputs.
Also, having separate outputs allows you to route your signal to different monitors or pedals, giving you more control over your tone. I find that a versatile interface speeds up my workflow and reduces the need for constant patching.
Built-in Effects and DSP: Yay or Nay?
Some audio interfaces come with built-in DSP (digital signal processing) that lets you add amp simulation, reverb, or compression directly through the interface.
While I initially thought this was gimmicky, I’ve grown to appreciate the convenience, especially during tracking sessions. It helps me get a rough mix without loading heavy plugins, and some interfaces even allow zero-latency effects monitoring.
However, for final mixing, I still prefer to use dedicated software plugins for maximum control.
Amplifiers and Amp Modeling for Studio Use
Traditional Tube Amps: The Real Deal
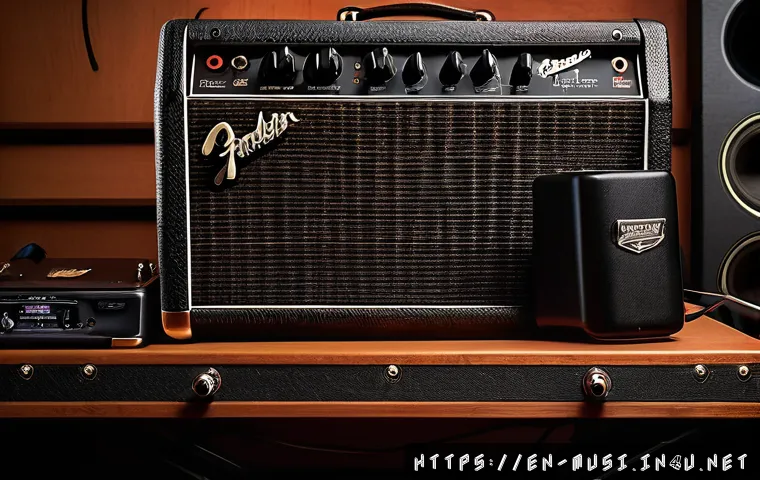
There’s something magical about the warmth and responsiveness of a tube amp. When I first plugged my guitar into a classic tube amp, I noticed how it reacts dynamically to my playing—soft picking sounds cleaner, and digging in produces natural overdrive.
This kind of feel is tough to replicate digitally. For recording, tube amps provide rich harmonic content that sits beautifully in a mix. However, they can be loud and require mic’ing, which isn’t always ideal in a home studio setting.
Solid-State and Modeling Amps: Flexibility Meets Convenience
If you’re tight on space or noise is a concern, solid-state and amp modeling units are fantastic alternatives. Devices like the Kemper Profiling Amp or Line 6 Helix offer a huge range of tones and can emulate multiple amps and effects with impressive accuracy.
I personally love how I can switch from a crunchy Marshall stack to a clean Fender twin with just a click, no mic’ing required. This flexibility saves tons of setup time and is perfect for remote collaborations or quick demos.
Integrating Pedals and Effects
Whether you’re using a traditional amp or a modeling unit, pedals are a vital part of shaping your guitar tone. Overdrive, delay, reverb, and modulation pedals can add character and depth that bring your recordings to life.
I always keep a few trusty pedals on hand to tweak my sound before it hits the interface. Experimenting with pedal order and settings is part of the fun—sometimes a subtle overdrive in front of the amp can inspire entirely new creative directions.
Essential Accessories That Make a Difference
High-Quality Cables and Stands
It might sound basic, but investing in good cables can prevent signal loss and unwanted noise. Cheap cables often introduce hum or crackle, which ruins an otherwise great take.
I recommend using shielded instrument cables from reputable brands and regularly checking them for wear. Also, sturdy mic stands with adjustable height and boom arms make positioning your microphone much easier and stable, especially during long sessions.
Acoustic Treatment for Better Room Sound
Even the best gear can’t fix a poor room sound. I’ve learned that treating your recording space with bass traps, diffusers, and acoustic panels drastically improves clarity and reduces unwanted reflections.
This helps the microphone capture a true representation of your guitar tone without the room coloring it too much. Simple DIY solutions, like heavy curtains or rugs, can also help if you’re on a budget.
Headphones vs. Studio Monitors
Monitoring is key when tracking and mixing guitar. I started with just headphones, but eventually added studio monitors for a more accurate listening environment.
Closed-back headphones are great for tracking because they isolate the sound, preventing bleed into the mic. For mixing, I rely on monitors to hear the full frequency range and stereo image.
Having both options available lets me switch depending on the task and environment.
Comparison of Popular Guitar Recording Gear
| Gear Type | Model | Key Features | Ideal Use | Price Range |
|---|---|---|---|---|
| Dynamic Microphone | Shure SM57 | Durable, handles high SPL, classic guitar tone | Electric guitar amps, live and studio | $100 – $120 |
| Condenser Microphone | Audio-Technica AT2020 | Wide frequency response, sensitive, affordable | Acoustic guitar, clean electric tones | $100 – $150 |
| Audio Interface | Focusrite Scarlett 2i2 | Low latency, 2 inputs, USB powered | Solo recording, home studios | $160 – $180 |
| Tube Amp | Fender Blues Junior | Warm tube tone, responsive dynamics | Recording, small gigs | $600 – $700 |
| Amp Modeling Unit | Kemper Profiling Amp | Profiles multiple amps, effects built-in | Versatile studio and live use | $1,500 – $2,000 |
Software Tools to Complement Your Guitar Recording
DAWs That Guitarists Love
Choosing the right digital audio workstation (DAW) can shape your entire recording experience. I’ve tried everything from GarageBand to Pro Tools, and each has its perks.
GarageBand is fantastic for beginners due to its simplicity and free availability on Mac. Logic Pro X offers deeper control and a huge library of guitar-centric plugins and amps.
Pro Tools remains the industry standard in many studios, especially for mixing and mastering, thanks to its stability and advanced features. Pick one that suits your workflow, and don’t get overwhelmed by bells and whistles.
Amp Simulation Plugins
Amp sims have come a long way, and I often use them for quick ideas or to capture tones impossible to get with physical gear. Plugins like Neural DSP, Amplitube, and Guitar Rig offer detailed modeling of classic amps and effects with customizable parameters.
I especially enjoy tweaking the virtual mic placement and cabinet options to fine-tune my sound. The biggest advantage is flexibility—you can layer multiple amp sims or switch tones instantly without re-amping.
Essential Effects Plugins for Guitar
Beyond amp sims, effects like reverb, delay, chorus, and compression add depth and character. I rely on plugins like Valhalla VintageVerb for lush reverbs and Soundtoys EchoBoy for dynamic delays.
Compression helps control dynamics and sustain, making your guitar sit perfectly in the mix. Experimenting with different settings can turn a dry, flat recording into a vibrant, textured performance that grabs listeners’ attention.
Recording Techniques to Capture Your Best Performance
Double Tracking for Richer Sound
One of the easiest ways to beef up your guitar parts is double tracking—recording the same part twice and panning each take left and right. I’ve noticed that this technique adds width and depth, making your guitar sound much fuller.
It’s especially effective for rhythm parts in rock and pop songs. Just make sure your timing is tight on both takes to avoid phase issues or flamming.
Using DI and Amp Signals Together
Recording a direct input (DI) signal alongside your miked amp track gives you more flexibility during mixing. I often blend the clean DI tone with the amp’s character to find the perfect balance.
If you want to change the amp sound later, you can even re-amp the DI track through different gear. This method saved me countless times when I wasn’t happy with the original amp tone but had already recorded the performance.
Capturing Dynamics with Volume and Tone Control
Your guitar’s volume knob and tone controls are powerful tools for shaping your sound. I’ve learned to ride the volume knob mid-performance to create swells or soften solos without touching the amp settings.
Rolling back the tone knob can make a bright guitar sound warmer and less piercing, which is helpful if your recording environment is harsh. Paying attention to these subtle details can elevate your guitar tracks from good to unforgettable.
In Conclusion
Choosing the right gear and techniques for recording guitar can truly transform your sound. From selecting the perfect microphone to understanding amp options and software tools, every detail contributes to capturing your unique tone. Remember, experimentation is key—trust your ears and enjoy the creative process. With the right setup, your guitar recordings will sound professional and inspiring.
Useful Tips to Keep in Mind
1. Always experiment with mic placement; small adjustments can drastically change your guitar tone.
2. Invest in quality cables and preamps—they make a noticeable difference in clarity and warmth.
3. Use both DI and miked amp signals to maximize mixing flexibility and tonal options.
4. Choose an audio interface with low latency and enough inputs to suit your recording needs.
5. Don’t overlook room treatment; it enhances the true sound of your guitar and reduces unwanted reflections.
Key Takeaways
Recording great guitar tracks involves a balance of good equipment, smart techniques, and a treated environment. Dynamic and condenser microphones serve different purposes, so select based on your style. Preamps and interfaces impact your tone and workflow, so choose wisely. Amp modeling offers versatility while traditional tube amps deliver authentic warmth. Lastly, monitoring tools and acoustic treatment are essential to hear and capture your best performance accurately.
Frequently Asked Questions (FAQ) 📖
Q: What are the must-have pieces of gear for recording guitar at home?
A: To get started with high-quality guitar recordings at home, you’ll want a reliable audio interface, a good dynamic or condenser microphone (depending on whether you’re miking an amp or recording acoustic guitar), quality cables, and headphones or monitors for accurate listening.
I personally found that investing in an interface with low latency and a solid preamp made a huge difference in capturing clean tones. Also, consider a DI box if you want to record directly from your electric guitar for a versatile sound.
Q: How can I improve my guitar tone without breaking the bank?
A: You’d be surprised how much your recording environment and mic placement can affect your tone. Experiment with positioning your microphone—try different angles and distances from the amp speaker or guitar body.
Using inexpensive acoustic treatment like foam panels or even blankets can reduce room reflections, giving you a cleaner sound. Also, dialing in amp settings and using a decent amp simulator plugin can add polish without costly gear upgrades.
I learned that small tweaks made a bigger impact than just buying fancy equipment.
Q: Is it better to record guitar through an amp or directly with a DI box?
A: Both methods have their place, and it really depends on the sound you want. Recording through an amp captures the natural character and warmth of your gear, especially if you mic the speaker correctly.
On the other hand, recording direct with a DI box gives you a clean, flexible signal that’s easy to re-amp or process later. I often blend both techniques—tracking DI for clarity and amp miking for texture—to get a rich, professional tone.
This approach gives me maximum control during mixing without losing the vibe of the performance.